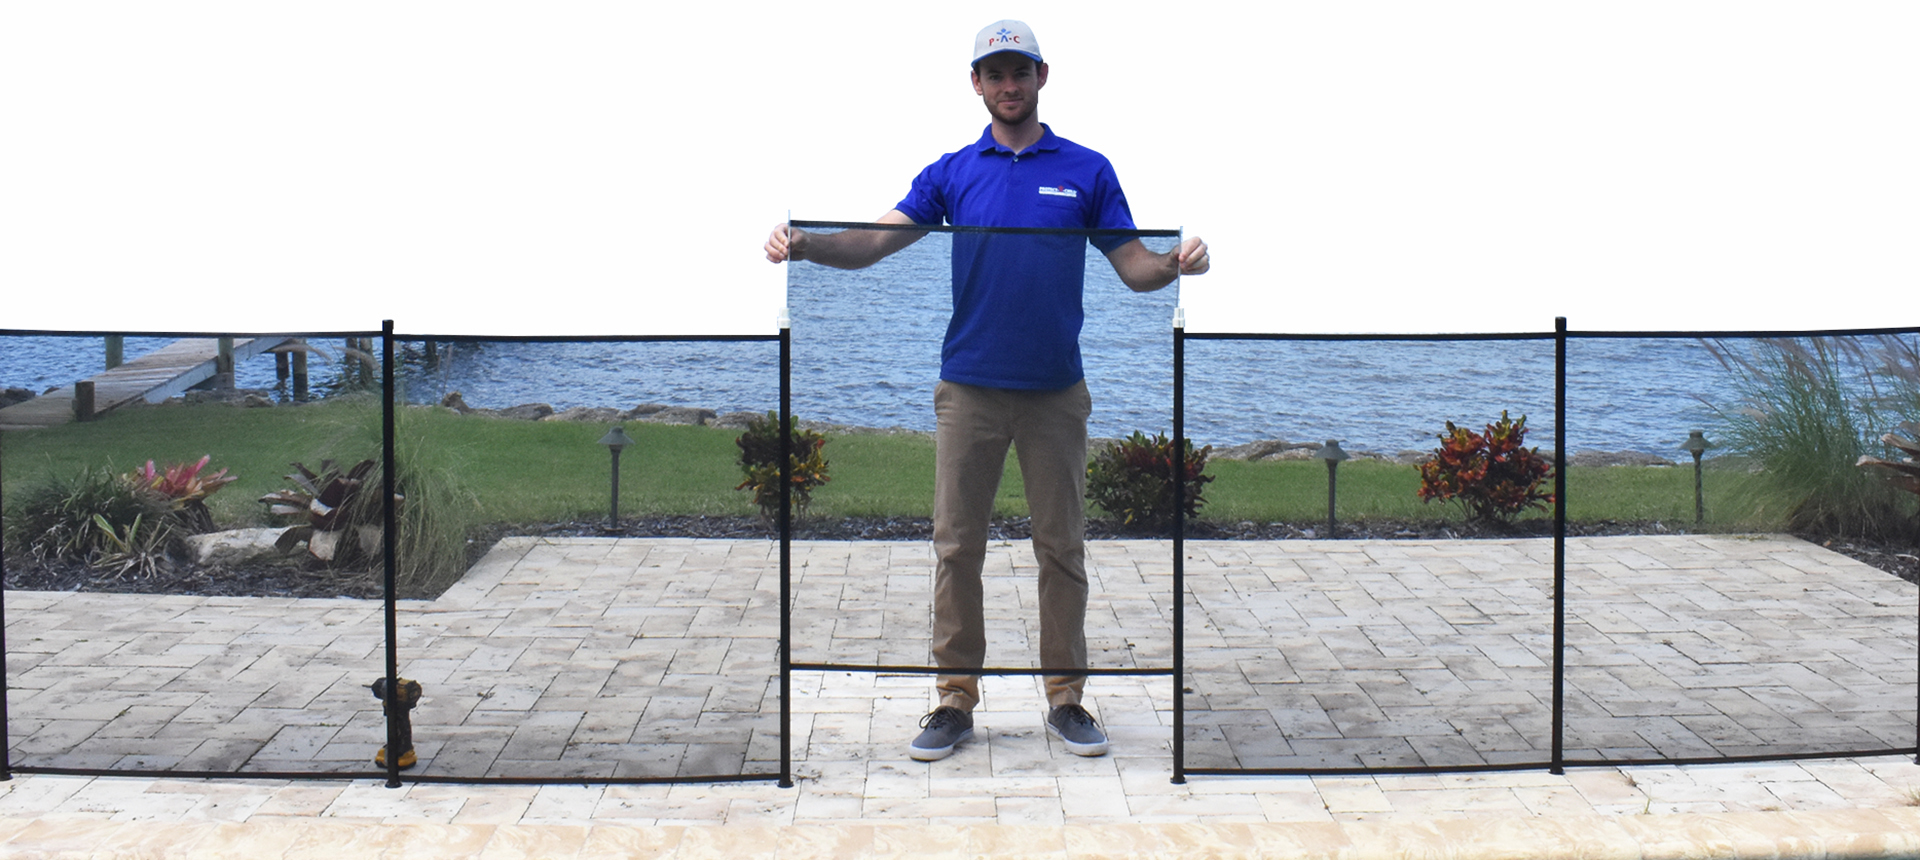
Protecting What Matters Most
Get peace of mind around your pool with a Protect-A-Child Pool Fence.
Protect-A-Child Pool Fence radically improves the safety and enjoyment of this family’s backyard and pool.
Secure Your Pool with a Protect-A-Child Pool Fence
We install the best pool safety fences nationwide and abroad.
2 Simple Steps Towards Safety
Our two step process makes getting a fence easier than ever.
- Request Your Free Estimate
- Schedule Your Install Time
Superior Strength
Our pool fence posts have the highest strength rating exceeding 160lbs.
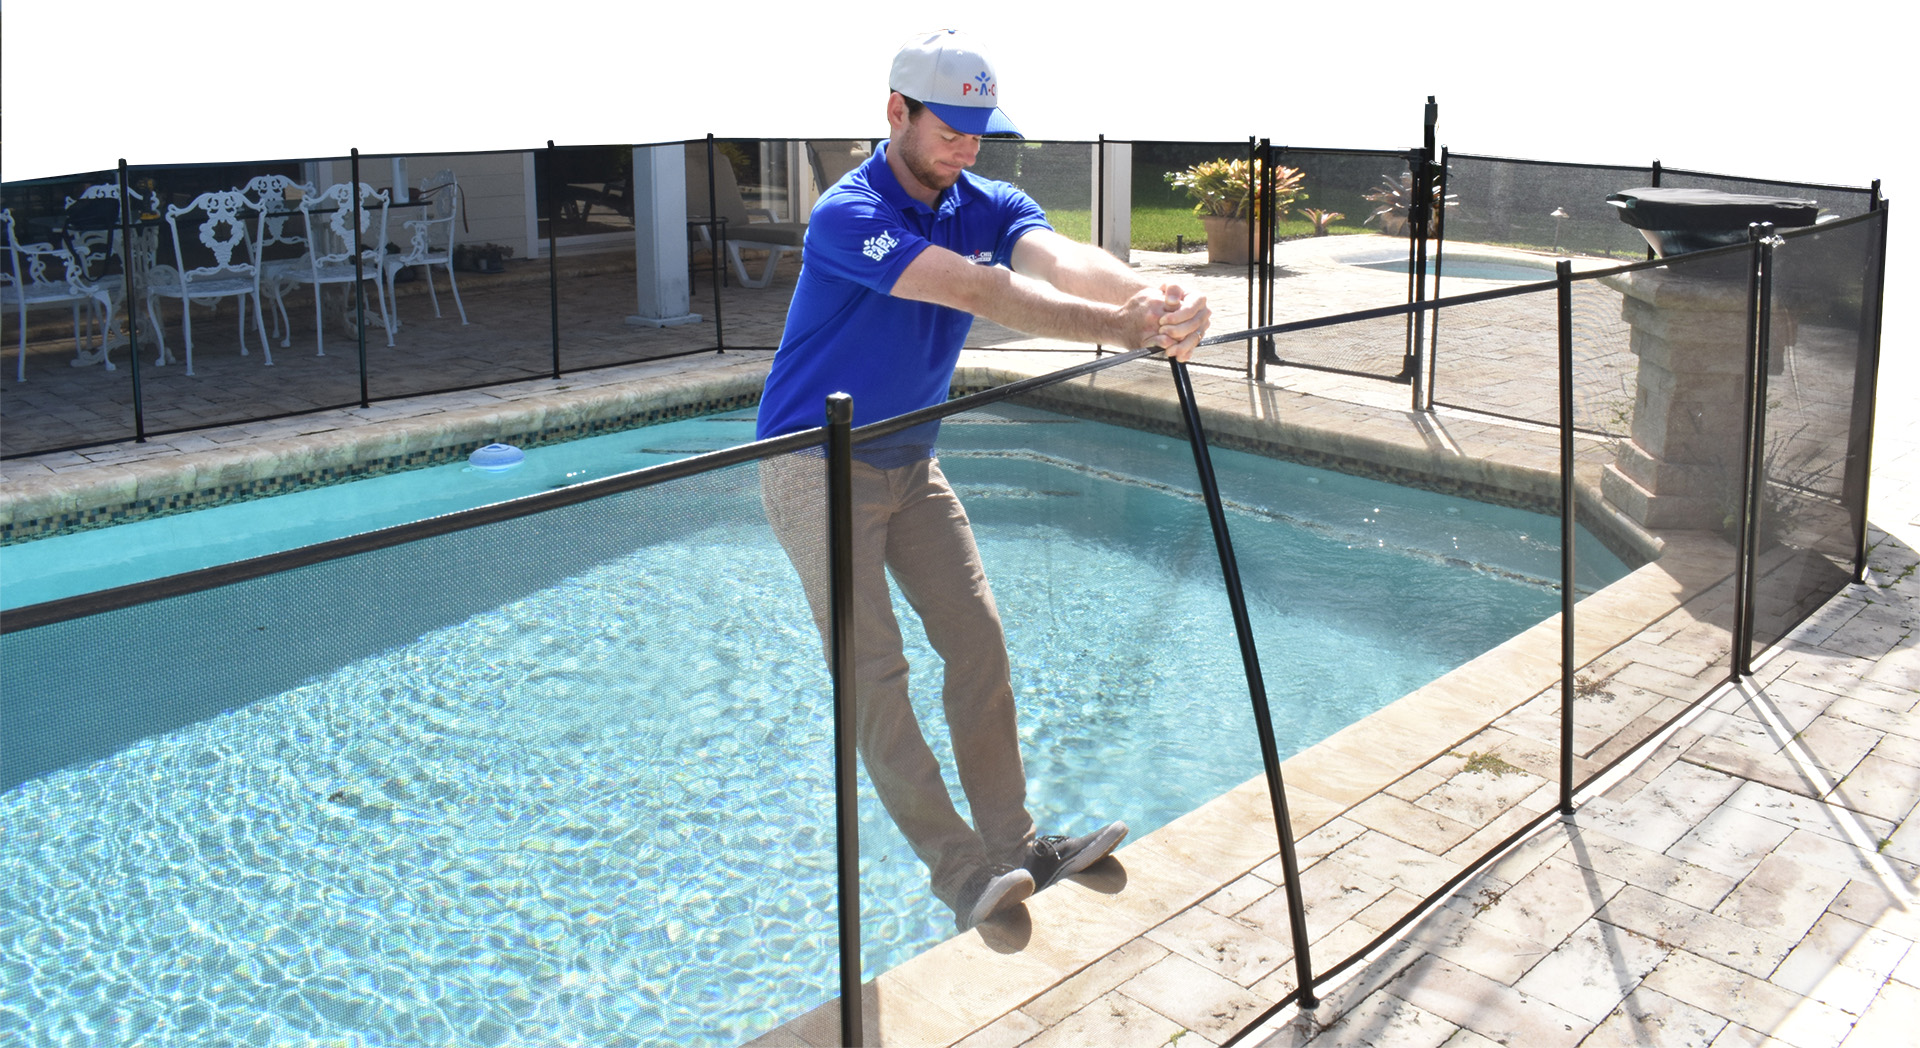
Modern Attractive Design
Sleek looks with a hidden capture of mesh to posts.
(No more ugly molding strips or face screws)
Patent Pending 63311348
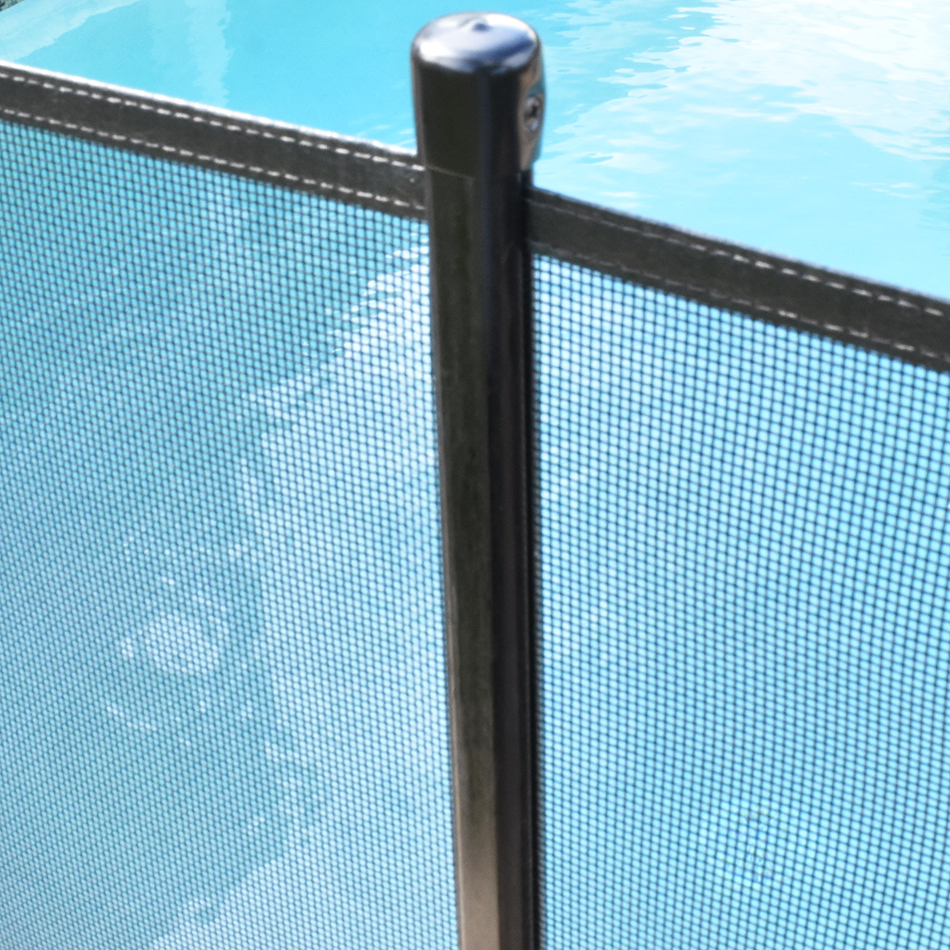
New I-Beam Pool Fence Post
No Screws and 100% mesh connection to post.
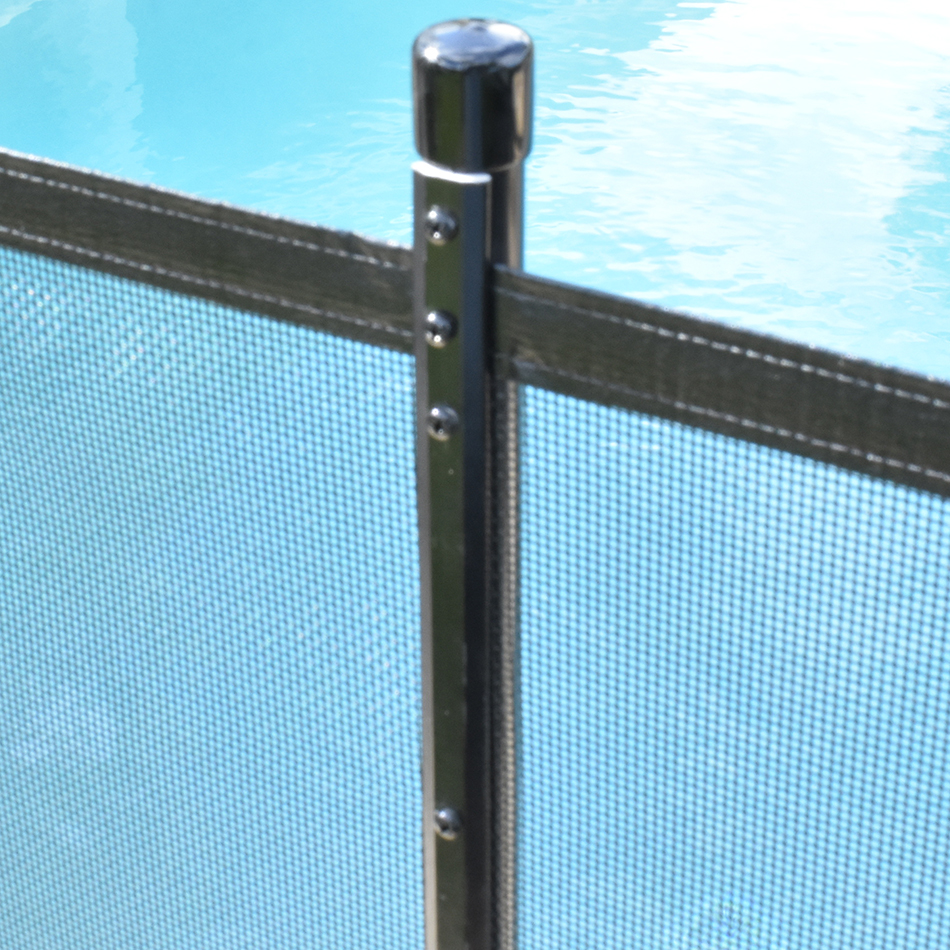
Old Style Pool Fence Post
Screws and molding strip clamp mesh to post.
Interested in a Free Quote?
Our Pool Fences Provide Patented Safety
We designed these patented special features for increased child safety.
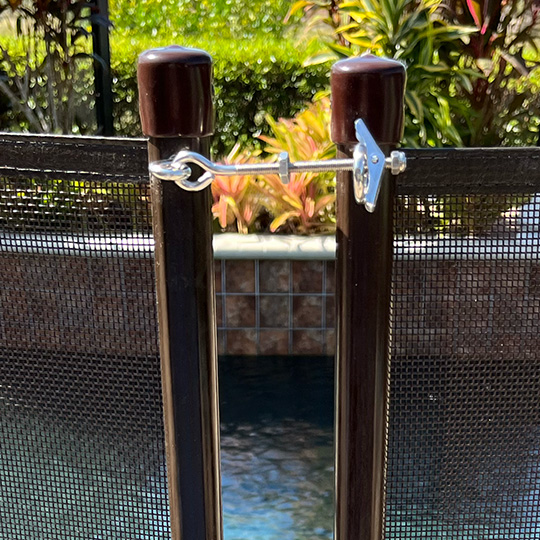
Point-Lock Latch
Prevents little hands from opening your pool fence.
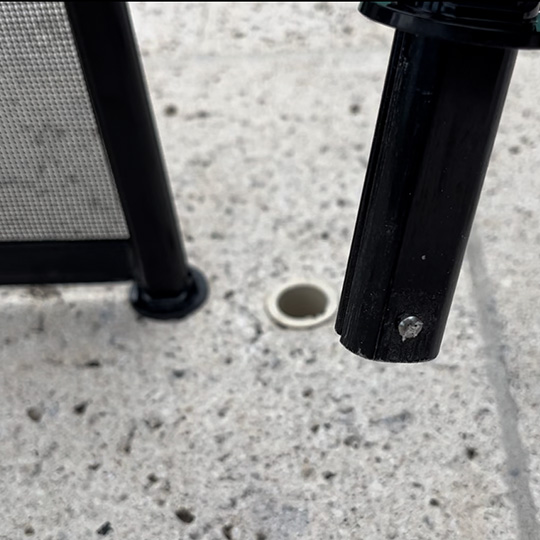
Lock-In Deck
Add-on to make your pool fence permanent or more secure.
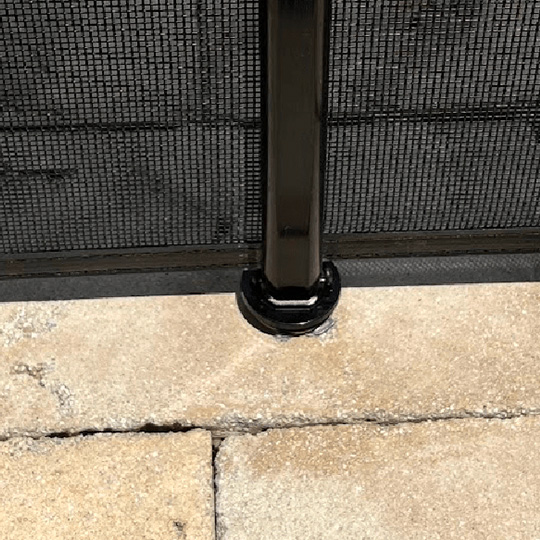
Hole Covers
Keeps dirt out of holes and covers the sleeve for a finished look.
Drowning accounts for 30% of child deaths ages 1-4.
It is our mission to prevent pool drowning and enhance the safe enjoyment of your backyard pool. A pool fence is critical in providing that safety and peace of mind.

